
Reading Time: 4 minutes
This tutorial will guide you How to configure postfix on Centos. Postfix is an open-source mail-transfer agent originally developed as an alternative to Sendmail and is usually the default mail server. Using Postfix you can configure a mail server and mail clients can use it to send email.
Table of Contents
How to configure postfix on Centos
Prerequisites
- Centos Server
- Basic understanding of Linux
- Sudo or root access to Centos Mail server
What is Postfix
Postfix is an open-source mail-transfer agent originally developed as an alternative to Sendmail and is usually the default mail server. Using Postfix you can configure a mail server and mail clients can use it to send email. How to configure postfix on Centos.
As an MTA, POSTFIX works in the background to handle the sending, receiving, and routing of email messages between mail servers. It is designed to be fast, secure, and reliable, and it is widely used in various operating systems, including Linux, UNIX, and macOS.
POSTFIX uses a modular architecture, allowing it to be highly customizable and adaptable to different configurations and requirements. It supports various protocols, such as Simple Mail Transfer Protocol (SMTP), Internet Message Access Protocol (IMAP), and Post Office Protocol (POP), making it compatible with a wide range of email clients.
Features of POSTFIX:
- Security: POSTFIX implements various security measures to prevent spam, unauthorized access, and email abuse. It supports encryption protocols like Transport Layer Security (TLS) to ensure secure communication between mail servers.
- Reliability: POSTFIX is known for its robustness and fault tolerance. It includes features like automatic queue management, retry mechanisms, and extensive logging to handle and recover from failures.
- Flexibility: POSTFIX can be configured to work with different authentication mechanisms, database backends, and content filters, allowing administrators to tailor it to their specific needs. It also supports virtual domains, aliasing, and forwarding to handle complex mail routing scenarios.
- Scalability: POSTFIX can handle a high volume of email traffic efficiently, making it suitable for both small-scale setups and large-scale deployments.
Overall, POSTFIX is widely used for organizations and individuals looking for a secure, reliable, and customizable mail server solution that can handle their email infrastructure efficiently.
Steps to follow
- Edit /etc/hosts file and add IP, FQDN, Short Name of host
root@tetertechie ~]# cat /etc/hosts
127.0.0.1 localhost localhost.localdomain localhost4 localhost4.localdomain4
::1 localhost localhost.localdomain localhost6 localhost6.localdomain6

172.29.203.141 hostname.testertechie.com hostname
[root@tetertechie ~]#
Save File
2. Update packages on the server
$ yum update -y
Install Postfix on the server
3. $ yum install postfix -y
4. $ systemctl status postfix
Enable the Postfix service and start it
5. $systemctl enable postfix
6. $ systemctl start postfix
7. $ systemctl status postfix
8. $ firewall-cmd --list-services
Firewall – Enable

$ systemctl enable firewalld
$ systemctl start firewalld
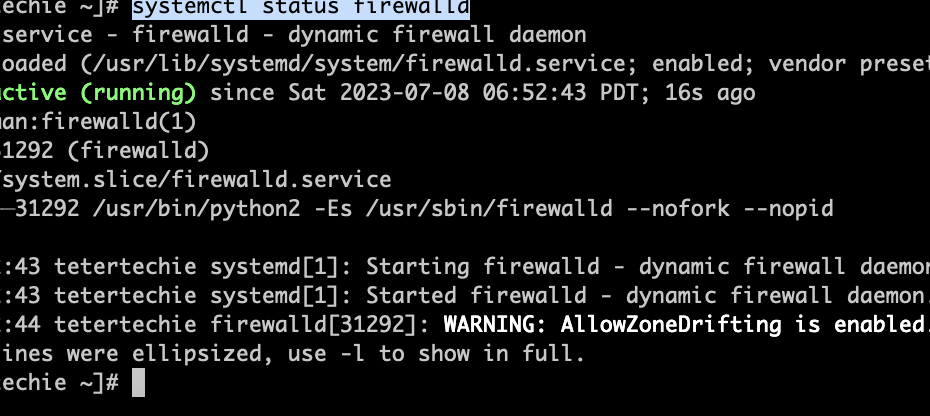
$ systemctl status firewalld

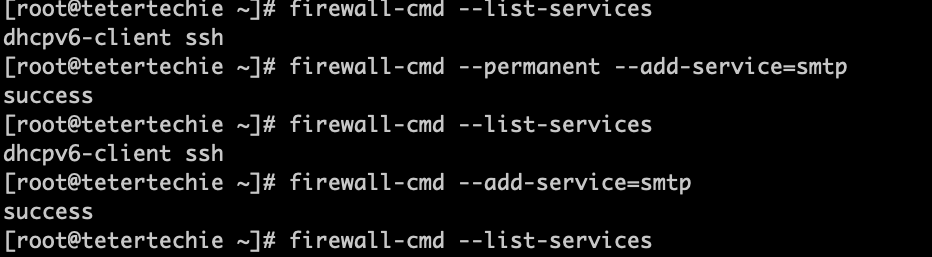
$ firewall-cmd --list-services
$ firewall-cmd --permanent --add-service=smtp
$ firewall-cmd --add-service=smtp
$ firewall-cmd --list-services
Example – /etc/postfix/main.cf – Postfix configuration file
myhostname = mailserver.mydomain.com
mydomain = mydomain.com
myorigin = $mydomain
inet_interfaces = all
mydestination = $myhostname, localhost.$mydomain, localhost, $mydomain
mynetworks = 192.168.0.0/24, 127.0.0.0/8
Take Backup of postfix configuration file
$ cp -p /etc/postfix/main.cf /etc/postfix/main.cf.orig
Edit config
$ vi /etc/postfix/main.cf
myhostname = testertechie.testertechie.com
mydomain = testertechie.com
myorigin = $mydomain
inet_interfaces = localhost
inet_protocols = all
mydestination = $myhostname, localhost.$mydomain, localhost
You should use inet_protocols = all in case you have more than one interface.
You also need to set the related SELinux boolean to true permanently
$ setsebool -P allow_postfix_local_write_mail_spool on
$ getsebool -a |grep postfix

$ systemctl restart postfix
Troubleshooting steps
Please follow the below command in case you need to troubleshoot further
# systemctl –l status postfix
# journalctl –xn (Note: This may not work then first command is useful to list out service)
# postconf –n
How to write an email using mail client
Send Email: $ mail -s "Test 1st Email" email@gmail.com
< Write Here >
Hi This is 1st test email!
Ctrl+d
$ mailq
How to write an email using mutt client
If you have not installed the “mutt” client, Please install it using yum install mutt -y
mutt -s "Test EMail" test@gmail.com < mail_body.txt
$ mail
You can check port connectivity using nmap or NC command. If these commands are not installed you can install them same using Yum
nmap -PN 192.168.0.20

or nc -v 192.168.0.20 25
Conclusion
You can find more details on Postfix website
If you want to learn more about Linux, Please follow this Tutorial
We hope this tutorial “How to configure postfix on Centos” helps you to setup a postfix mail server. You may reach out to us If any queries.